
De'Longhi Dedica cappuccino: a practical milk-steaming routine
A small pitcher, controlled air and espresso first: revisit Angelo's Dedica cappuccino demonstration, including the practical problems he encountered.

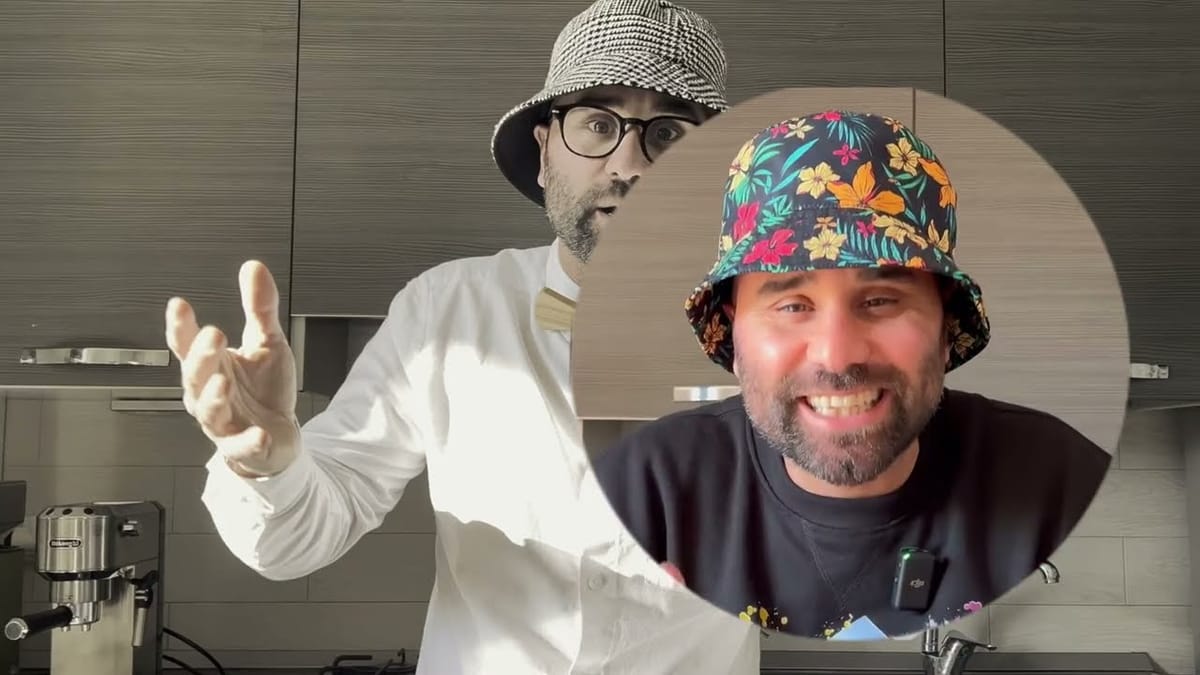
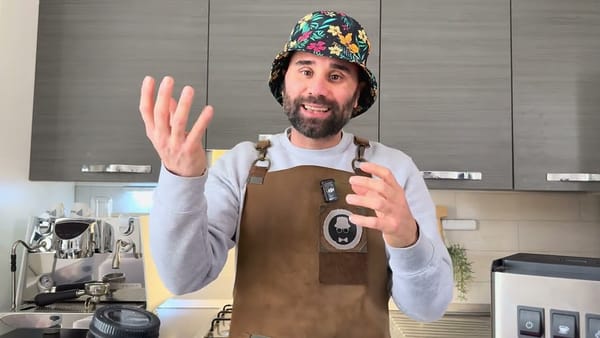
A De'Longhi Dedica cappuccino starts with a small pitcher, controlled air near the milk surface and espresso prepared before steaming. Angelo demonstrates this routine in his 2024 video. It is in Italian: on YouTube, use CC, Settings, Subtitles and Auto-translate to select English.
Which milk pitcher works for a Dedica cappuccino?
For the machine in this demonstration, Angelo recommends a pitcher of around 300 ml, with a defined pouring spout and a comfortable handle. He is steaming for one cappuccino at a time, rather than heating a large batch of milk.
In the comments, he explains the practical reason: a bigger pitcher can be a poor match for this machine's steam output and short wand. It is not simply a question of buying the largest jug you can fit under it. The recommendation applies to the setup shown, not to every Dedica variant, since different versions can have different wands.
Prepare a cup, spoon, thermometer and a cloth reserved for the steam wand. Angelo uses a 180 ml cup and suggests 150-200 ml as a suitable range for his drink. Choose the cup with the amount of espresso and milk in mind: its size affects the drink you are trying to make.
How do you steam milk with the De'Longhi Dedica?
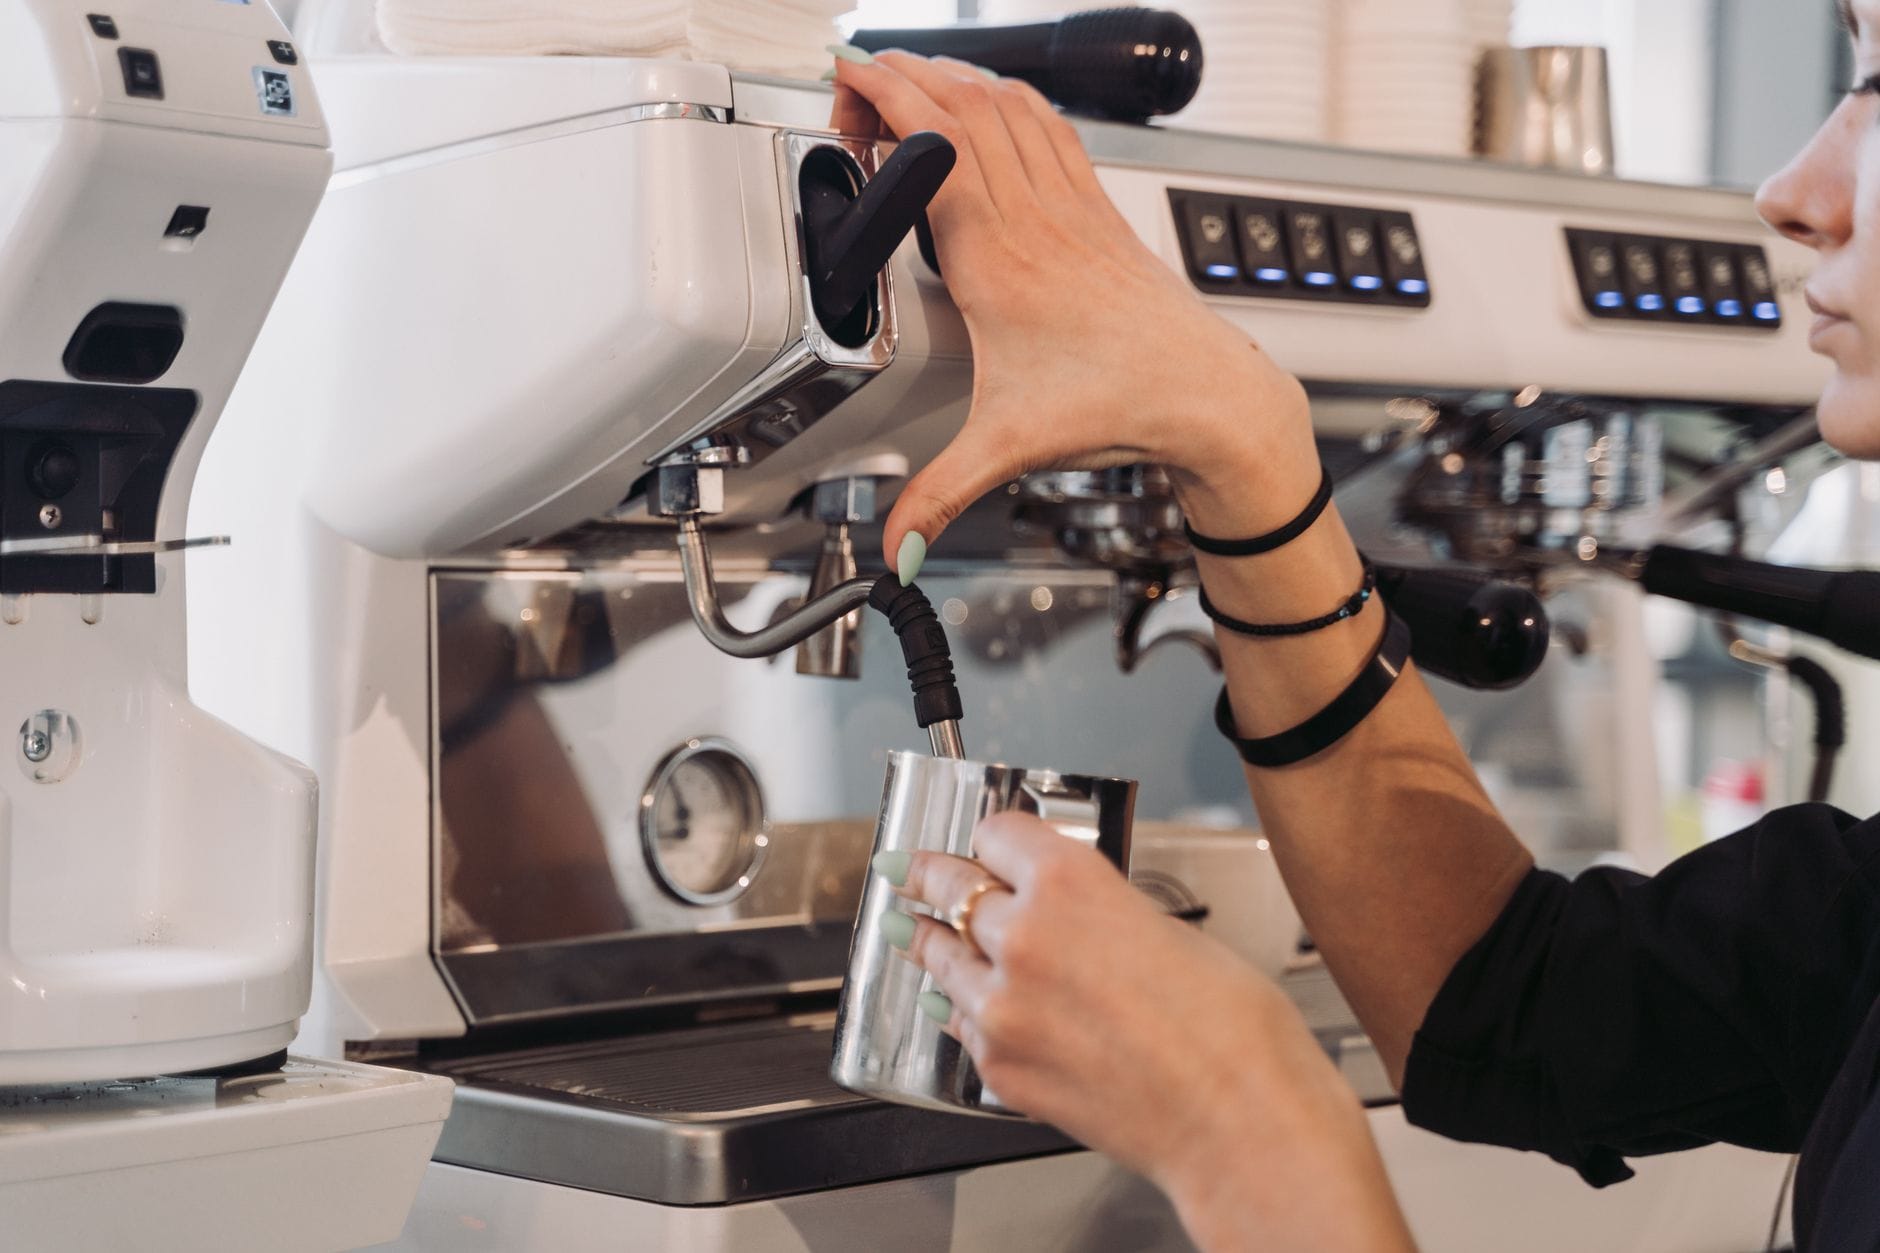
The key is to keep the tip just below the surface while introducing air, with the pitcher tilted to encourage the milk to move. Start with cold milk and, as Angelo demonstrates, fill the pitcher no higher than halfway so there is room for expansion.
Select steam mode and wait for the machine's ready signal. Purge condensation before putting the wand in the milk, following your model's instructions and keeping the outlet away from your hands. A cleaning cloth does not make a hot jet safe to touch.
Angelo starts with the tip submerged. Once steam is flowing, he lowers the pitcher slightly to bring the tip close to the surface. The position is off-centre, towards the side without pressing against the pitcher wall. Watch what the milk is doing rather than copying a hand position blindly: heating milk and introducing air are separate parts of the task.
If the result remains mostly liquid, Angelo's advice in the comments is to spend longer with the tip just below the surface. That is about recognising the air-introduction stage, not heating indefinitely. Our guide to steaming milk with a steam wand explains the wider technique.
When should you stop heating the milk?
In this demonstration, Angelo stops at around 56-60 °C. Treat that as the working reference for his preparation, not a compulsory temperature for every milk drink. A thermometer makes the stopping point easier to recognise without relying only on how the pitcher feels.
For your first attempts, keep the milk, pitcher and starting quantity consistent. Changing all three makes it hard to tell whether your wand control improved or you simply used a different milk. Judge the finished drink as well as the volume of foam.
The video also discusses perceived sweetness. You do not need a chemical explanation to practise the technique: the useful instruction here is to control temperature rather than aiming for an ever-hotter cappuccino.
How should you organise two or three cappuccinos?
Angelo's routine is to pull all the espresso shots first, then switch to milk and steam one drink at a time. In his test, this avoids repeatedly moving between espresso and steam modes.
Have the cups and tools ready before starting. For any return from steaming to brewing, follow your own model's manual, including its waiting or cooling procedure. Organising the work does not remove the machine's operating limits, and a sequence shown on one setup is not automatically right for another.
Angelo also found his machine's programmed shot short and extended it for his cappuccino. That is an observation about his drink, not a reason to lengthen every espresso. Taste the balance with milk. If the coffee itself needs attention, start with our De'Longhi Dedica EC685 troubleshooting guide.
What if there is too much foam or no steam?
Excess foam and missing steam are different problems: one concerns texture, while the other calls for checking the machine's settings and cleaning requirements. For an overly foamy pitcher, Angelo demonstrates removing some of the top layer with a spoon before pouring.
That can help rescue the current cup. For the next one, focus on how much air you introduce. A successful heart is not the first test of a good cappuccino: start with milk you can pour comfortably, then work on the pattern.
During filming, Angelo also encounters a temporary loss of steam. He reports that it returns after cleaning and waiting, but does not establish the cause. This is not a diagnosis for every Dedica. Stop the control, let parts cool before removing them and follow the manufacturer's maintenance instructions. Clean the wand after use; wiping it is not a substitute for the manual's full cleaning procedure.
On Patreon this week
For Premium members, Angelo wrote a follow-up on this topic, in Italian and English: De'Longhi Dedica cappuccino: questions after the test. The opening is free to read.
Join the Caffinity community
For extra content, behind-the-scenes material, enhanced partner-roaster discounts and reserved Discord channels, explore Caffinity Premium on Patreon. This is not a promise that every item is available in English.
For more hands-on demonstrations, subscribe to Angelo's YouTube channel, and compare your results in the free Caffinity Discord community.
For your next attempt, keep the milk and quantity unchanged. Adjust just the tip position and observe what changes before trying to improve the latte-art pattern.
Read next
Coffee grinder for espresso, moka and filter: what to look for
Manual or electric, ceramic or steel, stepped or stepless: Angelo’s video compares grinders and shows what to consider for your brewing method and daily routine.
Coffee deals on Telegram: we're sharing them on Amanti del Caffè
After our community poll, we’ll share Amazon offers on coffee machines, grinders and accessories on Amanti del Caffè on Telegram, ahead of Black Friday.
Lelit Anita review: how it compares with the Gaggia Classic Pro and Pavoni
An integrated grinder, a separate setup or a manual lever: Angelo compares the Anita, Classic Pro and Europiccola, and explains what his test can and can’t tell you.